STEP 15 - FITTING THE UTENSIL RAIL
For this Step you will need:
- RAIL END CAP
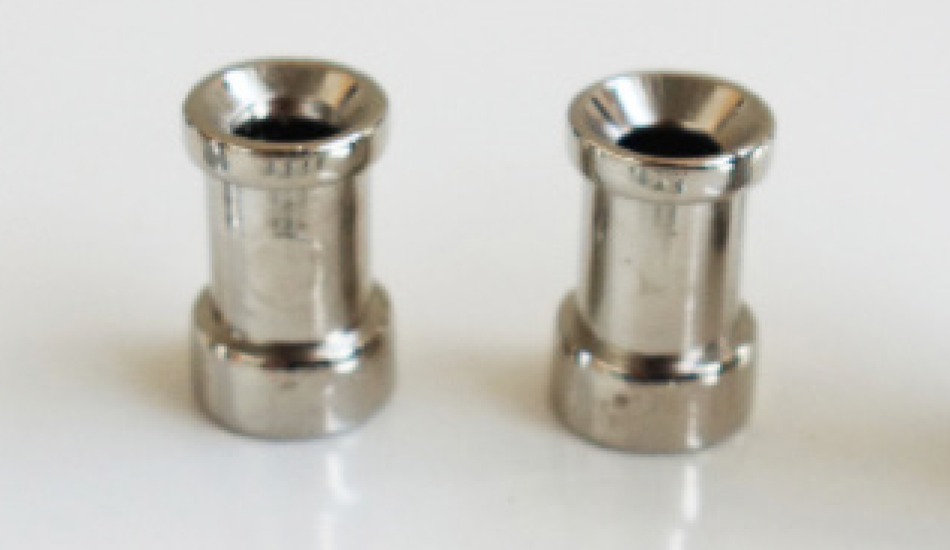
- RAIL HOLDERS
- HOOKS
- RAIL MOUNT PEGS
- RAIL ROD
- GRUB SCREWS
- PREVIOUSLY ASSEMBLY CABINETRY
Unpack the UTENSIL RAIL components.
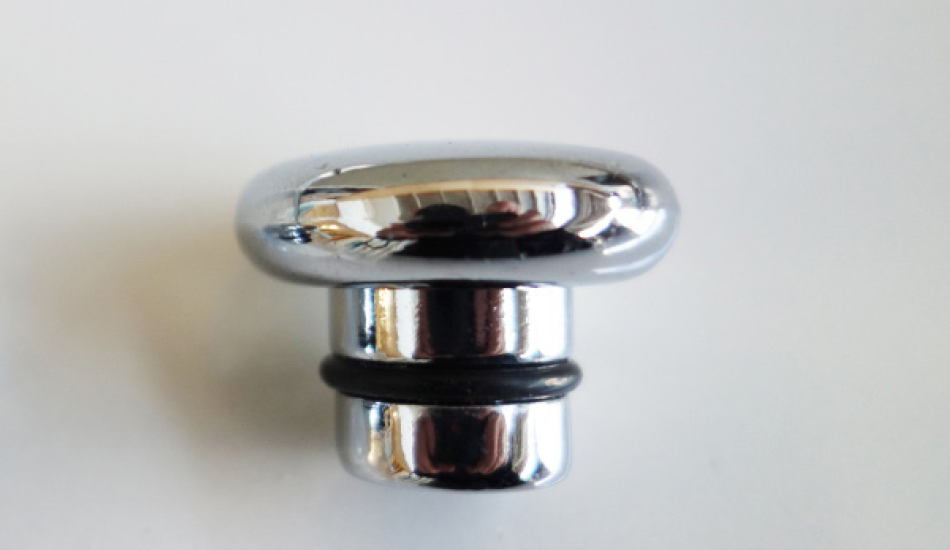
END CAP

RAIL HOLDERS

HOOKS
MOUNT PEG
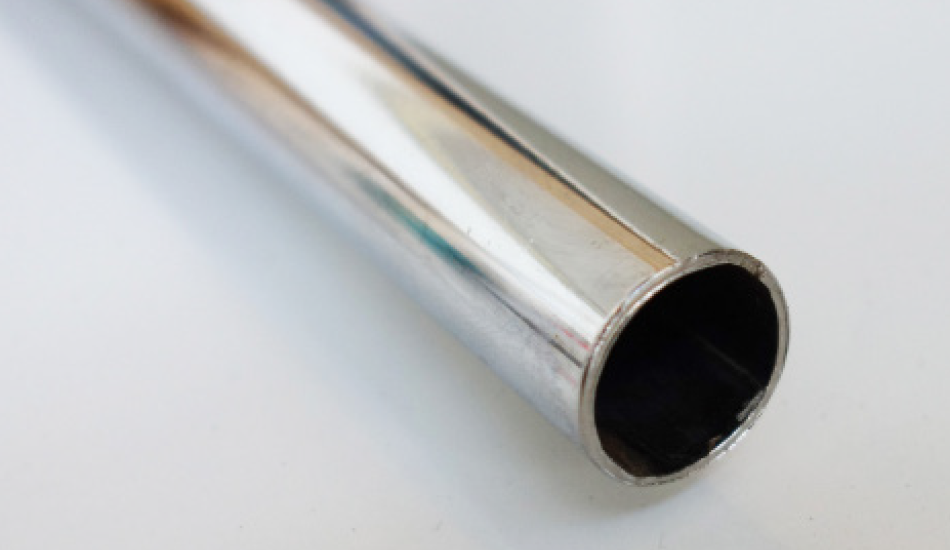
ROD
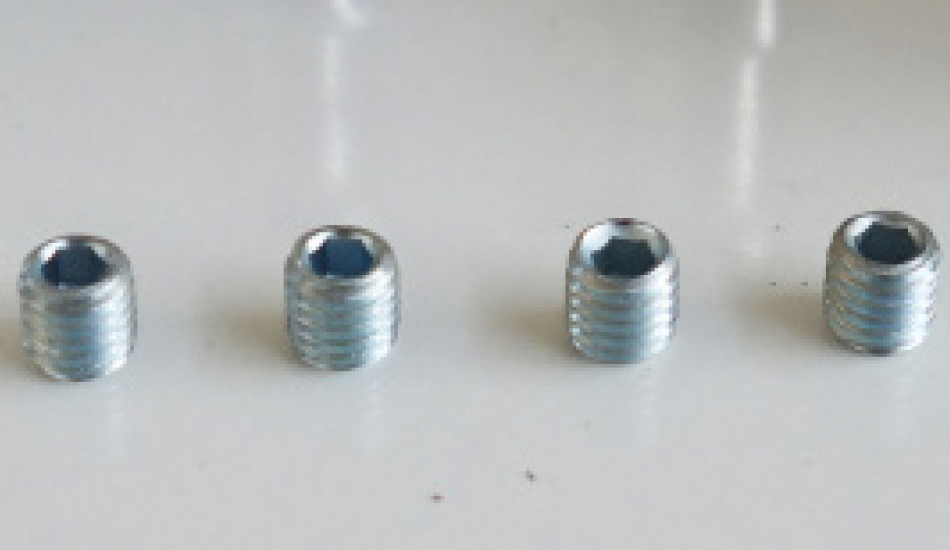
GRUB SCREWS
Mounting position for the UTENSIL RAIL is a personal preference. We suggested the following mounting position for the MiniKitchen K109 model. PLEASE NOTE, Measurements will be different for the other MiniKitchen models.
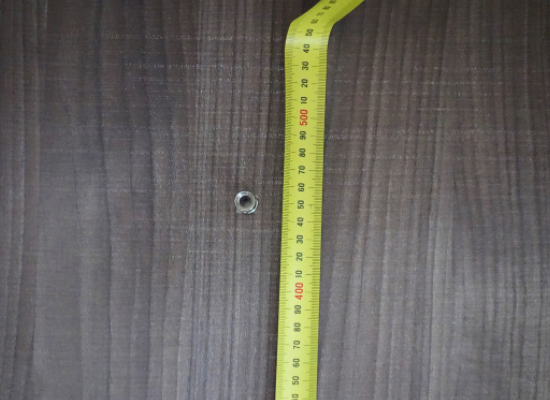
To install the MOUNT PEG take a measurement from the left hand end of the BENCH TOP, up the BACK PANEL of 450mm high and 205mm out from the LEFT HAND SIDE PANEL mark this spot. This is now the left hand hole centre for the MOUNT PEG.
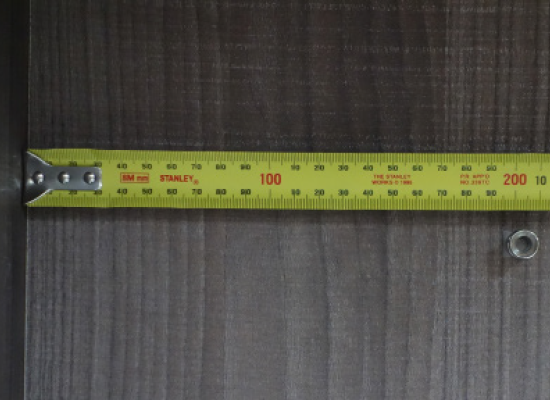
Now repeat this on the right hand end to establish the right hand hole centre. Using 38mm screws, attach the MOUNT PEGS to the BANK PANEL.
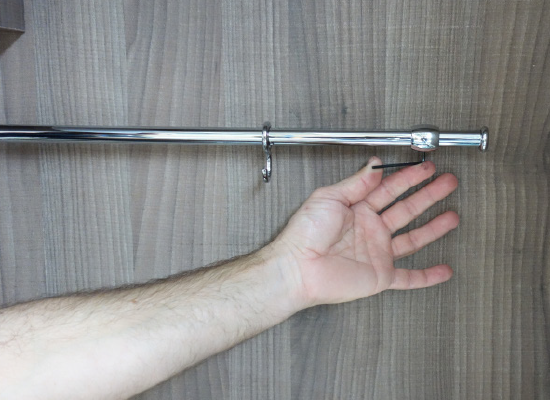
Thread the three hooks onto the UTENSIL RAIL. Insert the GRUB SCREWS into both of the RAIL HOLDERS and slide one on each end of the UTENSIL RAIL. Insert an END CAP on each end of the UTENSIL RAIL.
Place the RAIL HOLDERS over the MOUNT PINS and tighten the two GRUB SCREWS on each RAIL HOLDER with the ALLEN KEY.