STEP 16 - FITTING THE STAINLESS STEEL SPLASH BACK
For this Step you will need:
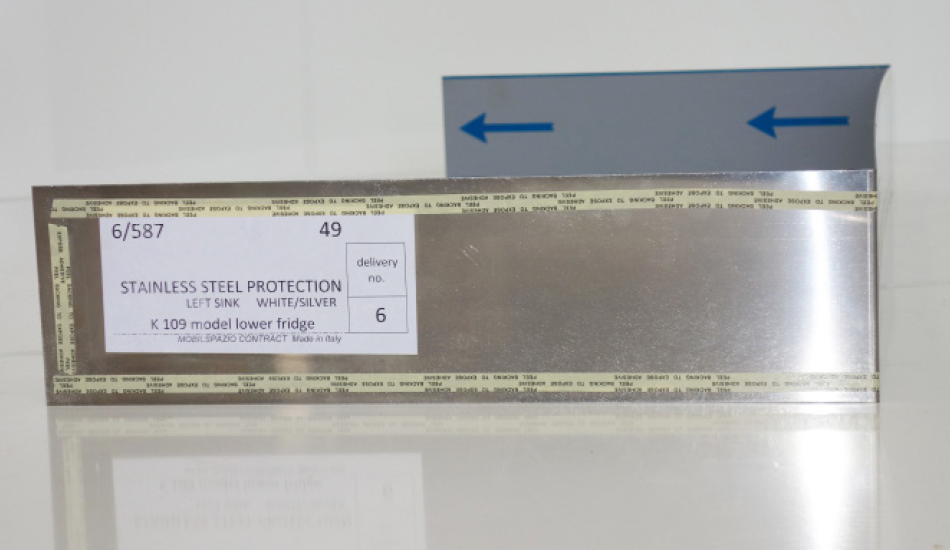
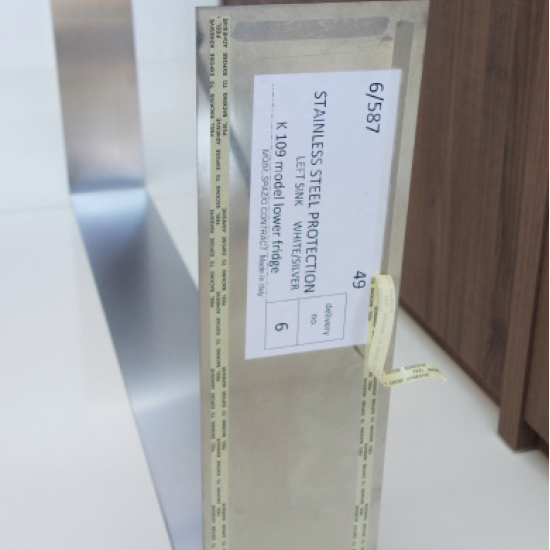
- STAINLESS STEEL SPLASH BACK
- WET AREA SILICONE
- MASKING TAPE
- SOAPY WATER MIX
- WOODEN STICK
- PREVIOUSLY ASSEMBLY CABINETRY
Attach DOUBLE SIDED TAPE around the top, bottom and ends of the STAINLESS STEEL SPLASH BACK about 10mm from all of the edges. DO NOT remove plastic backing tape.

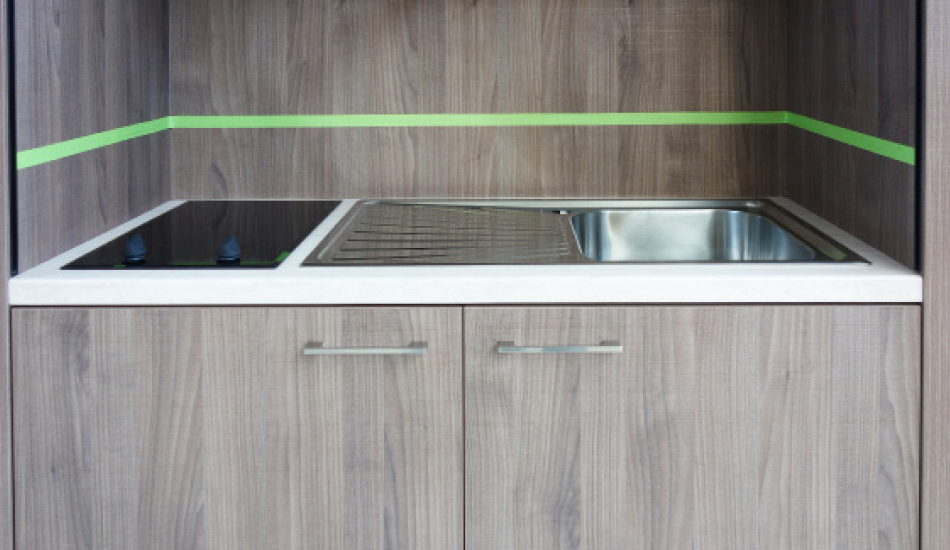
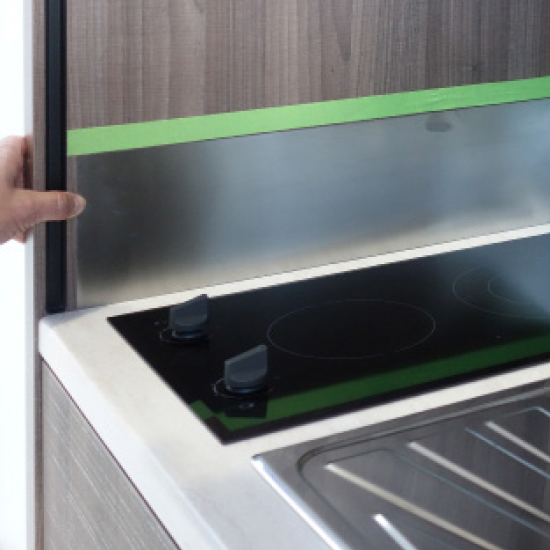
Place the STAINLESS STEEL SPLASH BACK in place on the STAINLESS STEEL SINK INSERT and run MASKING TAPE along the top edges. This is to mark where the STAINLESS STEEL SPLASH BACK will sit when applying WET AREA SILICONE.
Remove the STAINLESS STEEL SPLASH BACK.
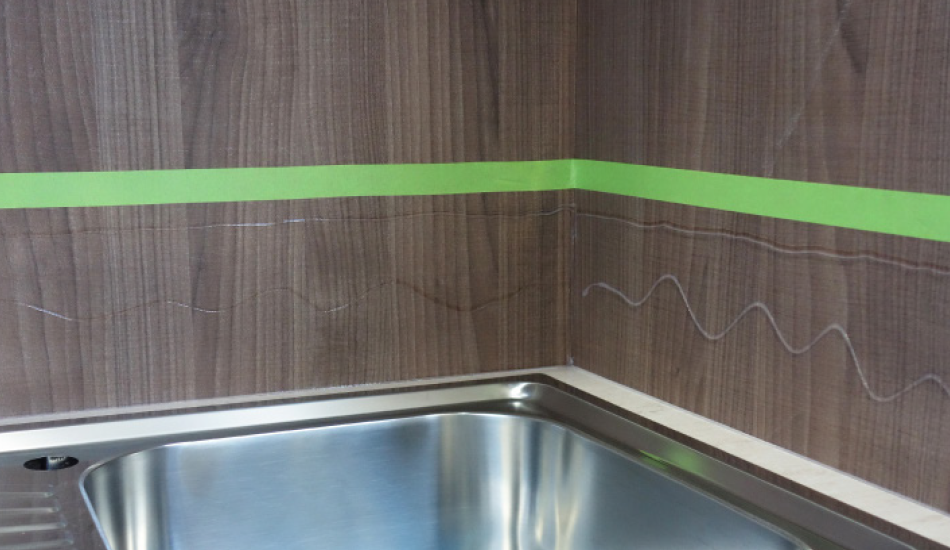
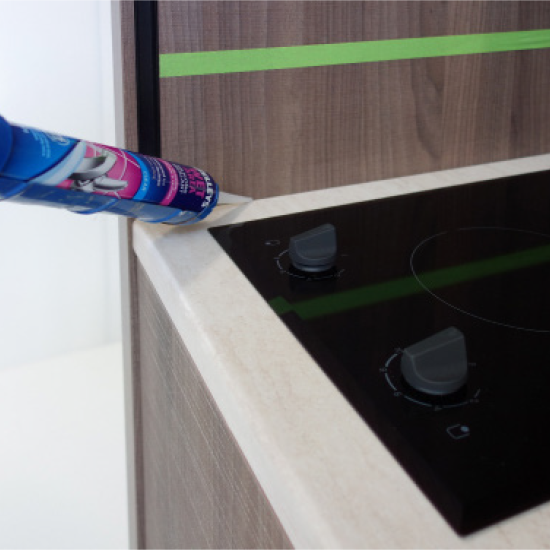
Apply WET AREA SILICONE below the tape line as shown around the three sides of the cabinet.
DO NOT use excessive amounts of WET AREA SILICONE.
Apply a fine line of WET AREA SILICONE around the three sides of the STAINLESS STEEL SINK INSERT where it meets the SIDE and BACK PANELS.
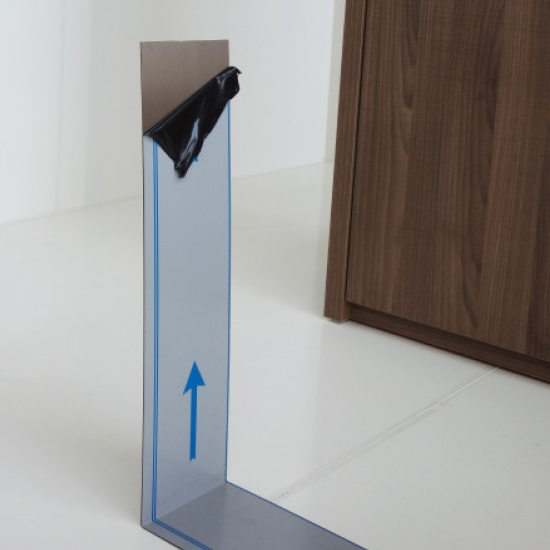
Remove the PLASTIC PROTECTION FILM from the inside of the STAINLESS STEEL SPLASH BACK.
Remove the plastic backing from the DOUBLE SIDED TAPE.
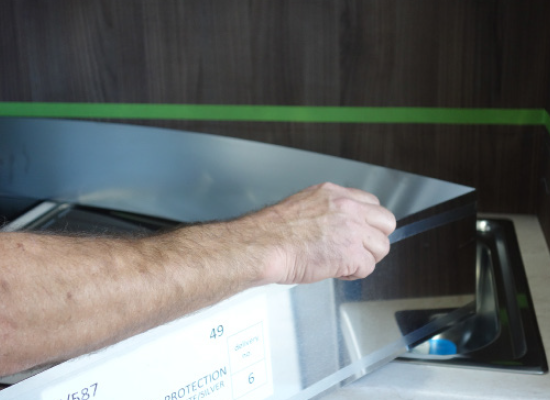
Carefully feed the STAINLESS STEEL SPLASH BACK into its final position commencing from the left hand side of the cabinet, pressing firmly into place as you work your way around to the right hand side of the cabinet.

Check the entire STAINLESS STEEL SPLASH BACK to make sure that it is firmly in place and remove the MASKING TAPE.
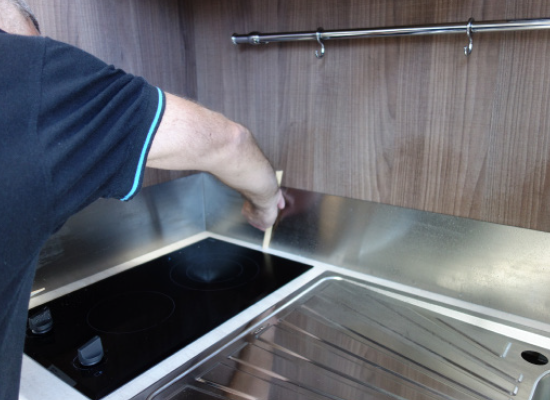
Spray the SOAPY WATER MIX along the all the edges of the STAINLESS STEEL SPLASH BACK, including top, bottom where it meets the BENCH. This will stop the silicone sticking to unwanted surfaces. Using the WOODEN STICK (or similar) remove the excess silicone from all edges.
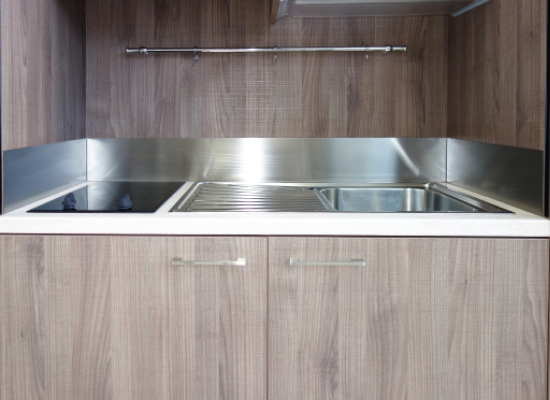
Clean the area down and you have successfully installed the STAINLESS STEEL SPLASH BACK.