STEP 19 - FITTING THE RUBBISH BIN
For this Step you will need:
- PLASTIC BRACKET FOR LID
- PLASTIC BRACKETS FOR BASE
- RUBBISH BIN
- RUBBISH BIN LID
- SMALL SCREWS
- SCREW DRIVER
- PREVIOUSLY ASSEMBLY CABINETRY
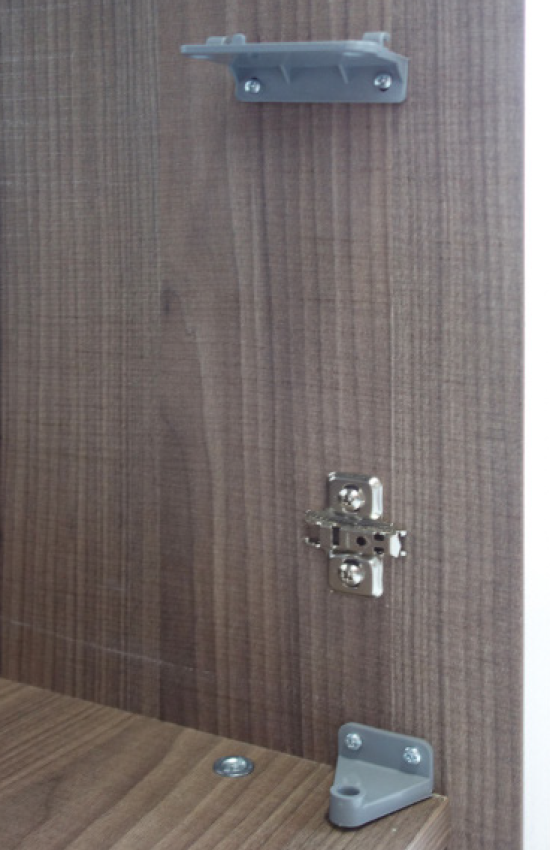
Mount the PLASTIC BRACKETS for the LID and BASE of the RUBBISH BIN on the inside of the cupboard.
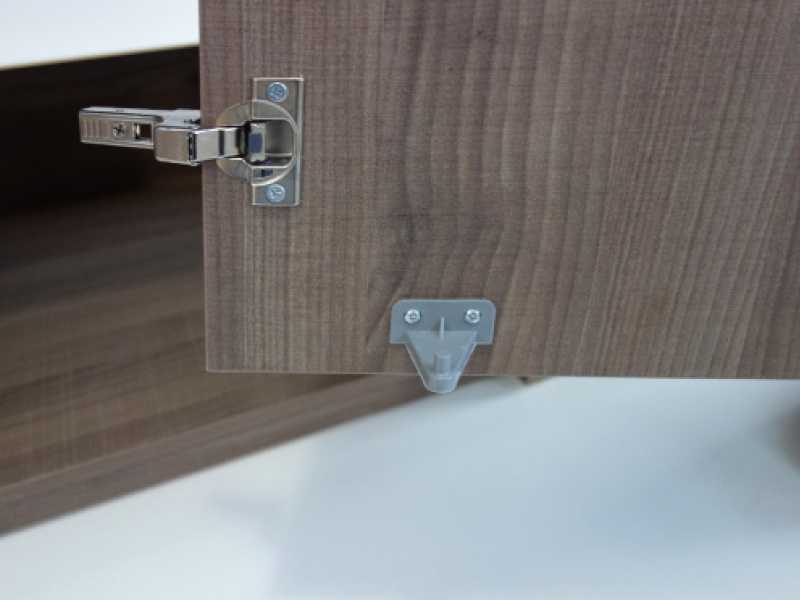
Mount the PLASTIC BASE BRACKET on the cupboard door.
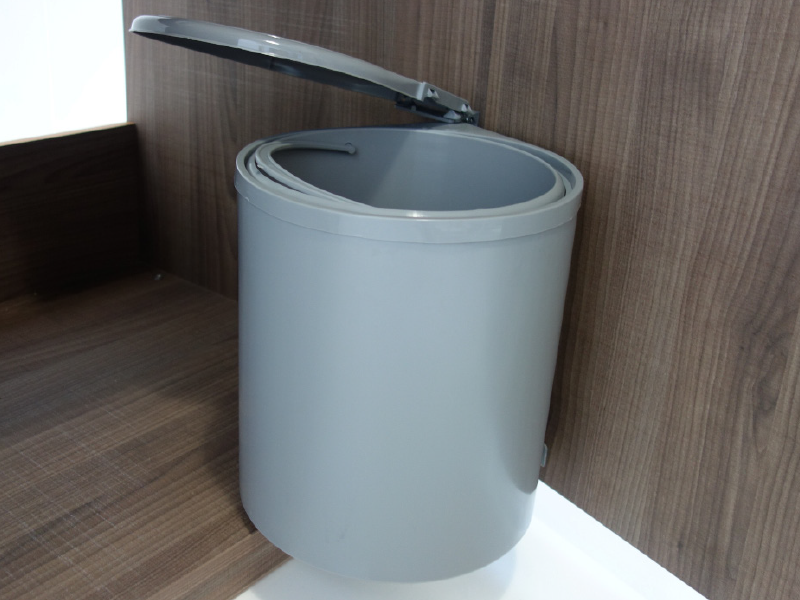
Attach the LID and the RUBBISH BIN base.
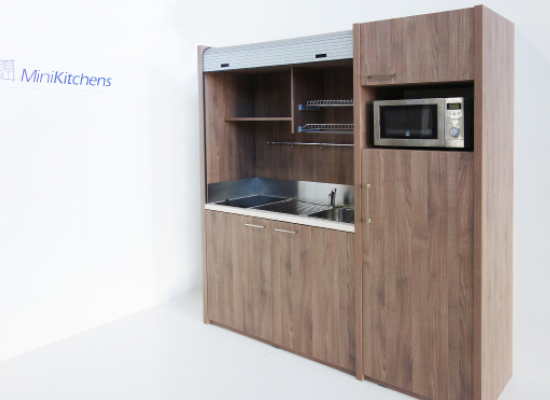
Congratulations you have now successfully completed assembly of your MiniKitchen.