STEP THREE - CUPBOARD DIVISION & BACK RAILS
For this Step you will need:
- BASE PANEL (previously assembled)
- CUPBOARD DIVISION
- TOP RAIL
- BOTTOM RAIL
- CAMS
- CAM LOCKING PIN SCREWS
- CAM PINS
- WOODEN DOWELS
- ALLEN KEY (supplied)
- SCREWDRIVER
Insert assorted hardware i.e. CAMS, CAM PINS, CAM PIN LOCKING SCREWS and WOODEN DOWELS into the CUPBOARD DIVISION as described in the previous section.
The panel is now complete and is attached to the BASE panel as follows:
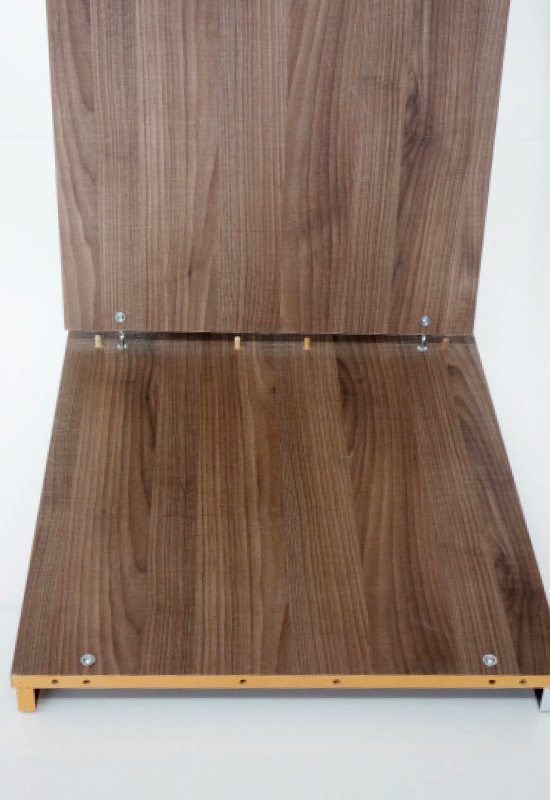
Line up the CAM PINS and the WOODEN DOWELS and slide the CUPBOARD DIVISION down onto the BASE.
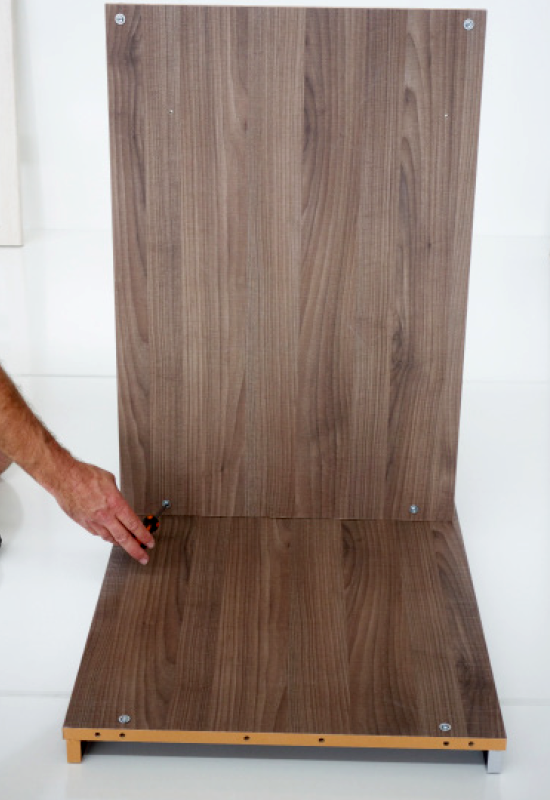
Tighten the CAM PIN LOCKING SCREWS.
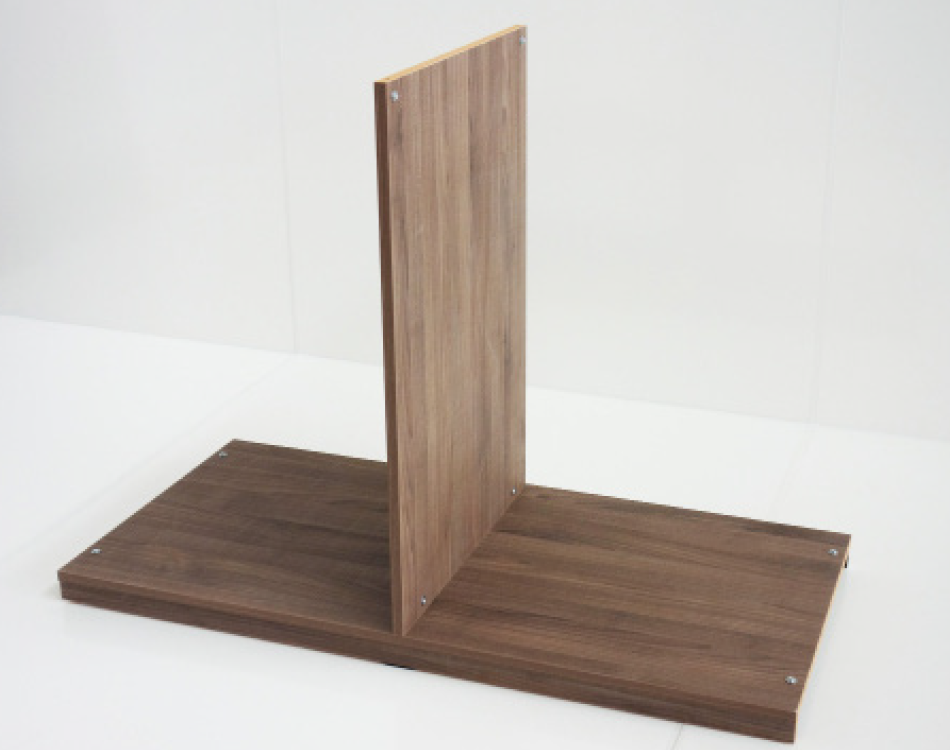
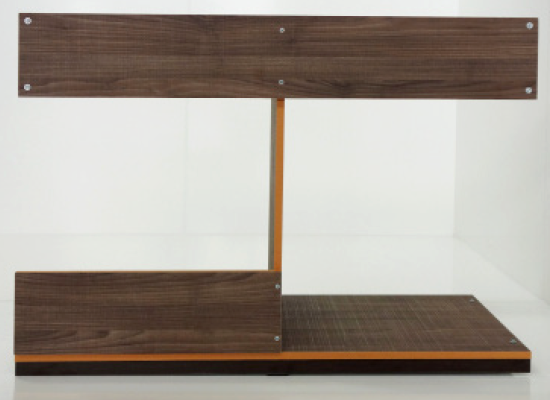
Your BASE and CUPBOARD PARTITION should now look like this.
PLEASE NOTE: The K108 and K120 models have an addition upright partition with a shelf to form the central under bench cupboard. When placing the CUPBOARD PARTITIONS for the K108 and K120 models please ensure that the pre-drilled hinging is orientated to be within this middle cupboard.
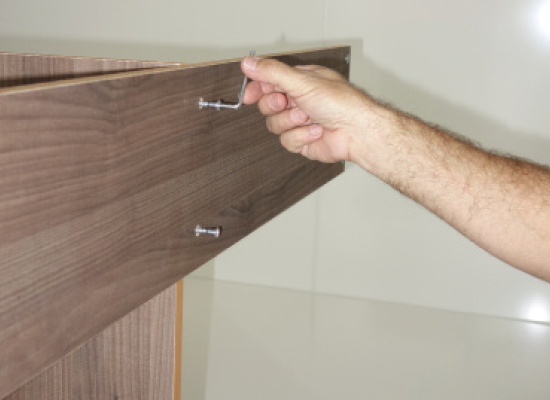
Select the TOP and BOTTOM RAILS and attach both rails to the CUPBOARD DIVISION using the HEAVY GAUGE SCREWS and tighten with the ALLEN KEY provided.
Note: In either a right hand or left hand MiniKitchen the BOTTOM RAIL is always directly under the SINK BOWL.